Recent day I was share a little about the Photoshop Palettes Part-1. Now I will be going to share the last basic part of Photoshop Palettes. Ok dear audiences let’s go....
Layers Palette:
Layers are a very important element in Photoshop. Without this none can think about professional editing, even personal. It arrange the whole element of a document separately each other layers file or objects. It show the vital part when edit an image. When you will be going to edit of a logo, banner or website PSD template. Especially because, a PSD template must be having a logo section, head section, sidebar section, main content section & footer section. So, if you want design the PSD template in the right way, you need to divide the section separately for changing or moving the objects appearances. This is not enough articles about layers palette also impossible to describe the whole matters of Layers. We surely describe the whole factor in different part in our Projects Tutorials.
Now to show or hide the Layers Palette just press F7 button from the keyboard. Want to change the layers appearance or thumbnail style, go to the selection showing below.....
Channels Palette:
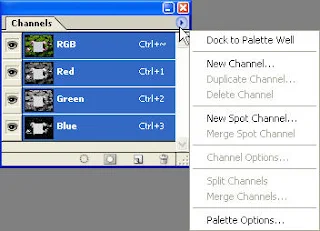
We know a little or some of us are do not know, what is Photoshop channels? Even we work in the past & still now in Photoshop. Now listen, Channels are things of viewing the Color of RGB or CMYK in the separate part in Photoshop. Created mask or any section border can be saving as a channel for using in the future & that time it can be so easy. It has a huge beneficial sector; to use it properly we need to know about the channel very well.
Now to show or hide the Channels Palette just go to the Windows > Channel. Want to change the Channels thumbnail style & manage editing, go to the selection showing below.....
Paths Palette:
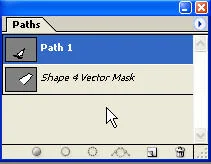
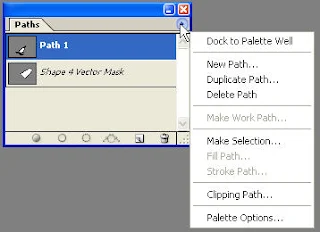
To create image paths separately for editing, paths tool is being be used. You can separately create & modify the paths by this palette. You may convert the paths location or paths point by the use of Pen Tool. Because the Pen Tool is only the paths creating tool in Photoshop.
To show or hide the Paths Palette just go to the Windows > Paths. Want to change the Paths thumbnail style & manage editing, go to the selection showing below.....
Paragraph Palette:
Paragraph palette is use for resizing the text level, align, margin indent and direction of paragraph of a text image file.
Some more advance customization will be done from option......
Character Palette:
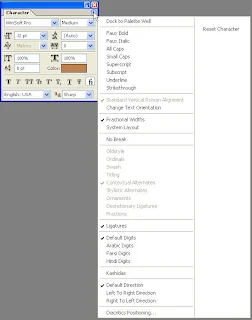
This palette is so much important for designer. To create ordinary to advanced level design with text, surely it is use. Character palette have many stylish font (It’s totally depends on you control panel font folder). To increase or decrease font size, changing direction of text line, color, font scale, baseline, you need to open the Character palette.
Some more advance customization will be done from option......
Brush Palette:
Brush Palette is collection of all Brush Shape Presets that allow you to create new brush, load, save or modify brush size, brush shape and brush dynamic in one single palette. The basic advantage of the Brushes palette is that you can define your own brush shapes and adjust various exciting dynamics. Whether you’re using a mouse or a pen and tablet, every tool behaves differently based on the size and shape of your cursor (the brush tip), and brush tips come in many different styles (called brush shapes, or typically just brushes). A big, round brush paints in broad strokes; a small, elliptical brush paints in thin, hairline strokes. Of course, there’s much more going on in Photoshop than just big, small, round, or elliptical.
To view, reset, load the default Photoshop brushes go to the option....
Preset Palette:
Creating tool presets in Photoshop is an excellent way to speed up your workflow and remember your favorite and most-used settings. A tool preset is a named, saved version of a tool and specific related settings such as width, opacity and brush size.
To work with tool presets, first open the tool presets palette by going to “Window > Tool Presets.” Depending on the current tool you have selected in the Photoshop toolbar, the presets palette will either display a list of presets or a message that no presets exist for the current tool. Some Photoshop tools come with built in presets, and others do not.


